
Installation support for panels and steel buildings
You do not need a specialist crew from China. Every ZY order can ship with numbered panels, a layout drawing showing where each panel goes, an installation guide, the matching profiles and sealant, and live video support from our engineers on WhatsApp while your local team installs.
Ask for installation supportWhat we provide with your order
Layout and shop drawings
Wall, ceiling and roof layouts with every panel numbered, plus door, window and corner positions.
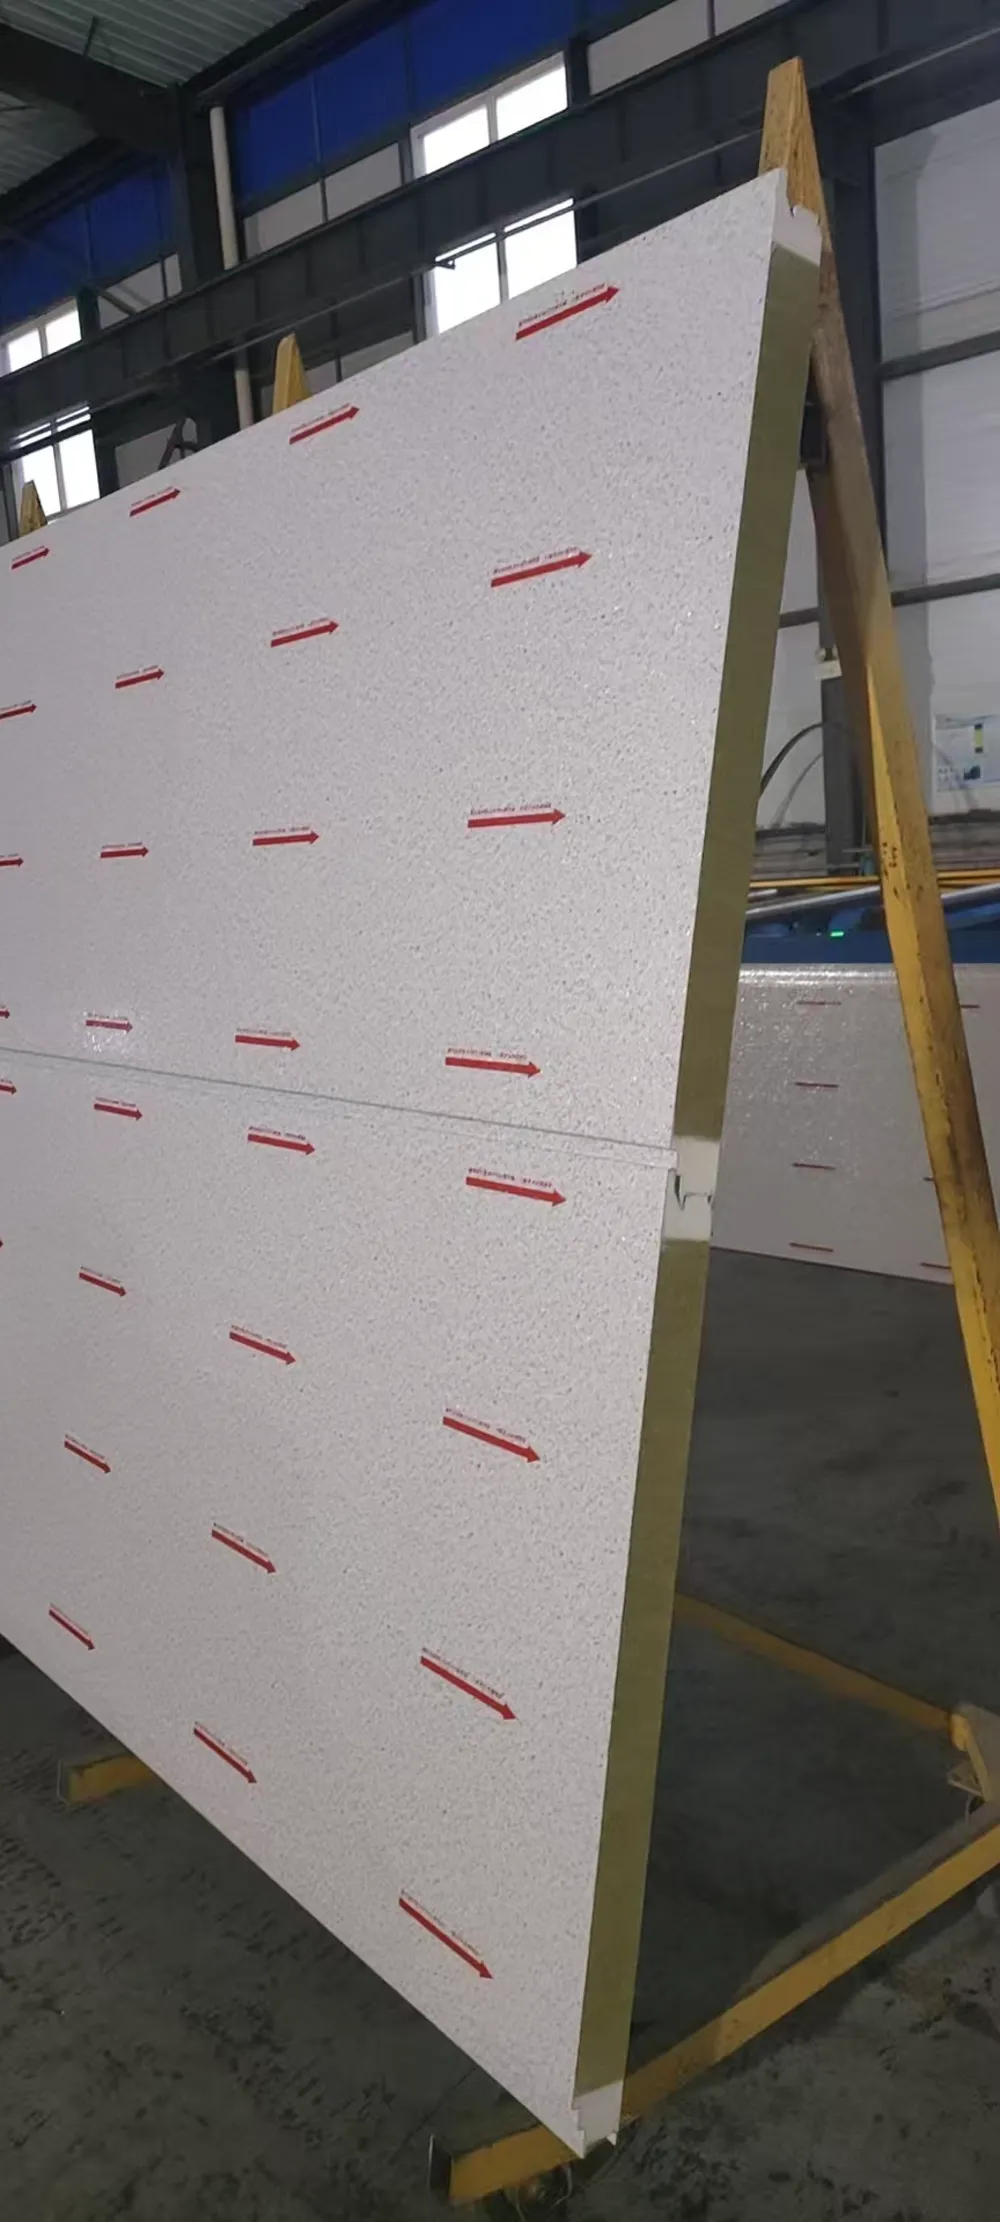
Numbered, cut-to-size panels
Panels are cut to length and labelled to match the drawing, so the crew installs them in order.
Installation guide and videos
Step-by-step guide in your language and short videos of each step.
Accessory kit
Floor tracks, aluminium profiles, corner coves, flashings, screws and sealant sized to the project.
Remote video support
Our engineer joins a WhatsApp video call with your site team to check set-out, first panels and details.
On-site supervision on request
For larger projects a supervisor can be arranged; scope, days and cost are confirmed in the quotation.
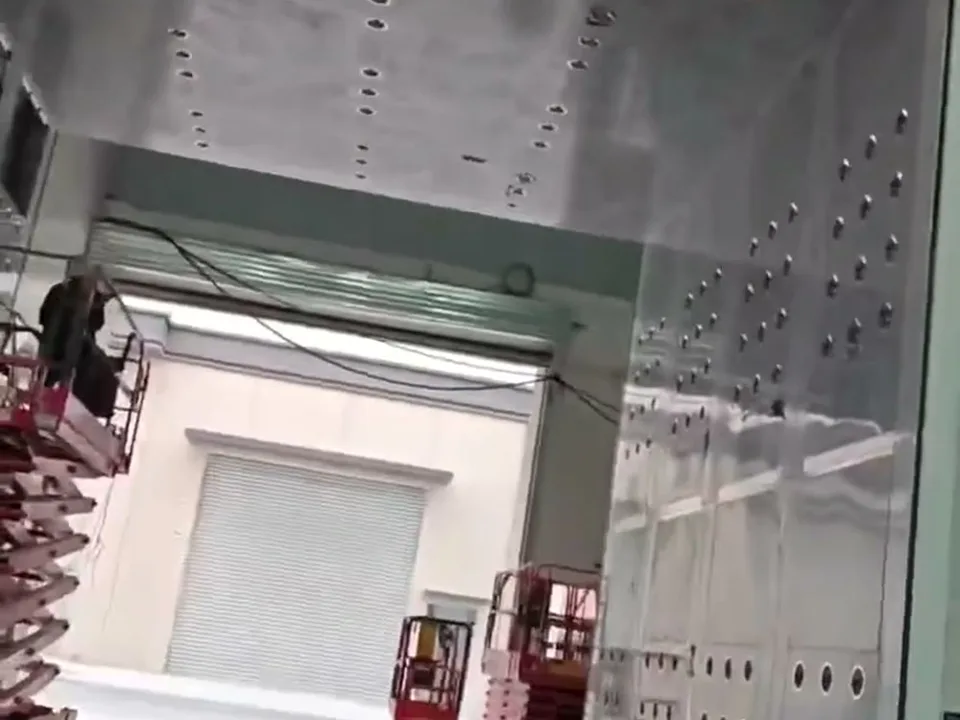
How a cleanroom panel room goes up
- Mark the room layout on the floor from the drawing and check levels.
- Fix the floor track (U-channel) along the marked lines.
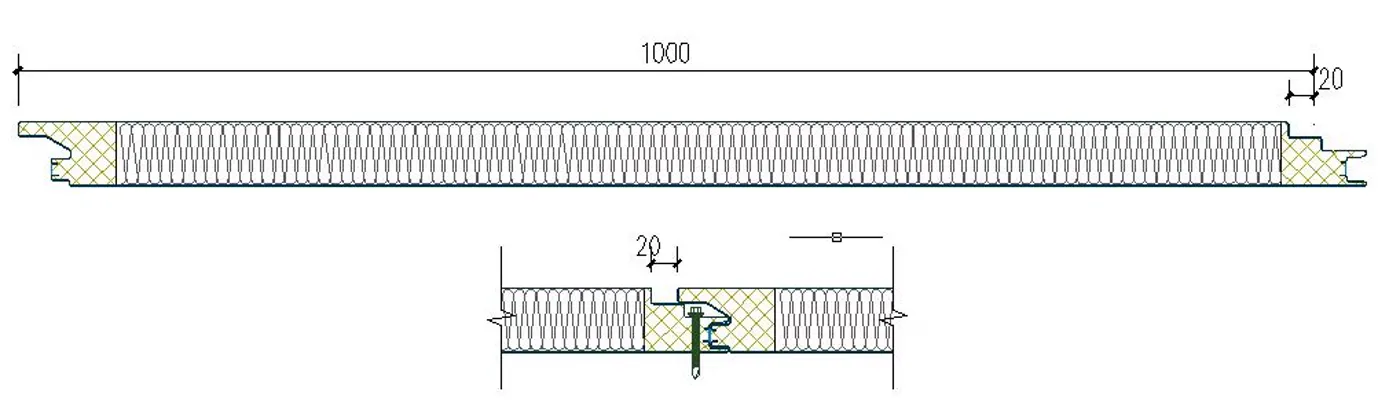
- Stand the wall panels in the track in numbered order and join them with the tongue-and-groove or aluminium connectors.
- Install the corner and cove profiles, then the door and window frames in their openings.
- Hang the ceiling: fix the hangers, then lay or fix the ceiling panels to the support profiles.
- Seal every joint with the supplied sealant, fit the trims, then remove the protective film.
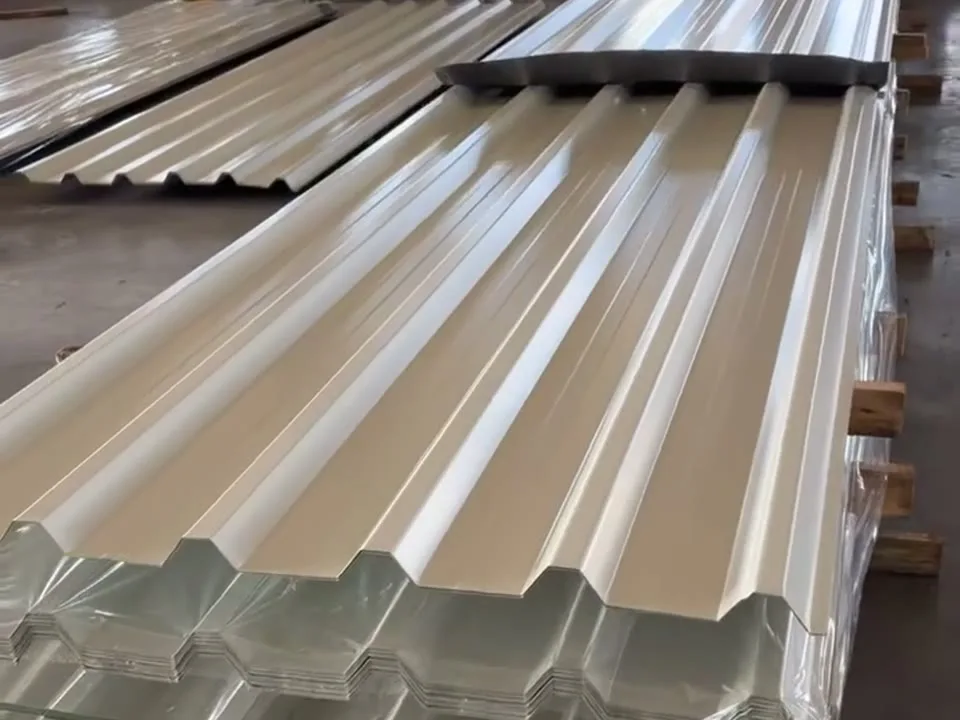
How roof and wall sandwich panels are fixed
- Check that purlins and girts are straight and at the spacing on the drawing.
- Start from the end away from the prevailing wind and lay the first panel square to the eave.
- Fix through the crest with self-drilling screws and sealing washers, at the spacing in the guide.
- Overlap side joints and add the sealant tape; install ridge, gutter and corner flashings.
- Never walk on panel valleys without boards, and remove the film within the period stated in the guide.
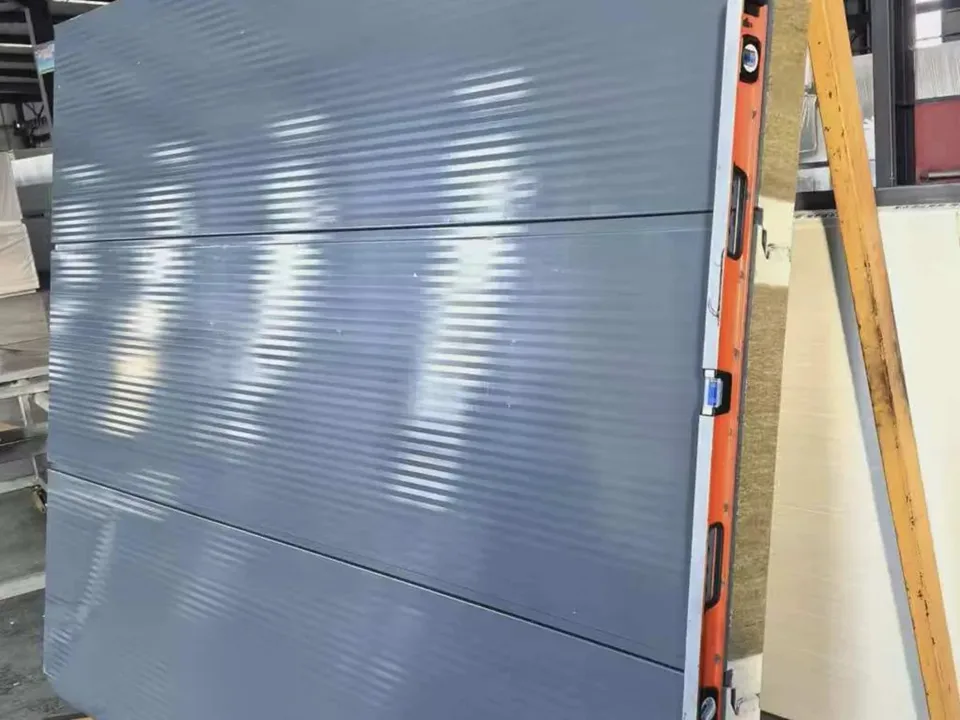
What your local team needs
A small general building crew, a scissor lift or scaffold, screw guns, a circular saw with metal blade, a laser level and silicone guns. No special licence is needed for most projects — follow your local building rules and the approved drawings.
Installation questions
Can a local crew install your panels without experience?
Yes. The panels are numbered to the layout drawing, and our engineer supports the team by video call during set-out and the first panels.
Do you send installers?
On request for larger projects. Supervision days, travel and cost are agreed in the quotation before you order.
Which language are the guides in?
English, Spanish, Portuguese, Arabic and Russian.
What if a panel is damaged on site?
Send photos with the panel number; replacement panels and parts can be quoted and shipped, or cut locally from spare stock if supplied.