Buyer guide
Cleanroom Door Installation: From Opening to Handover
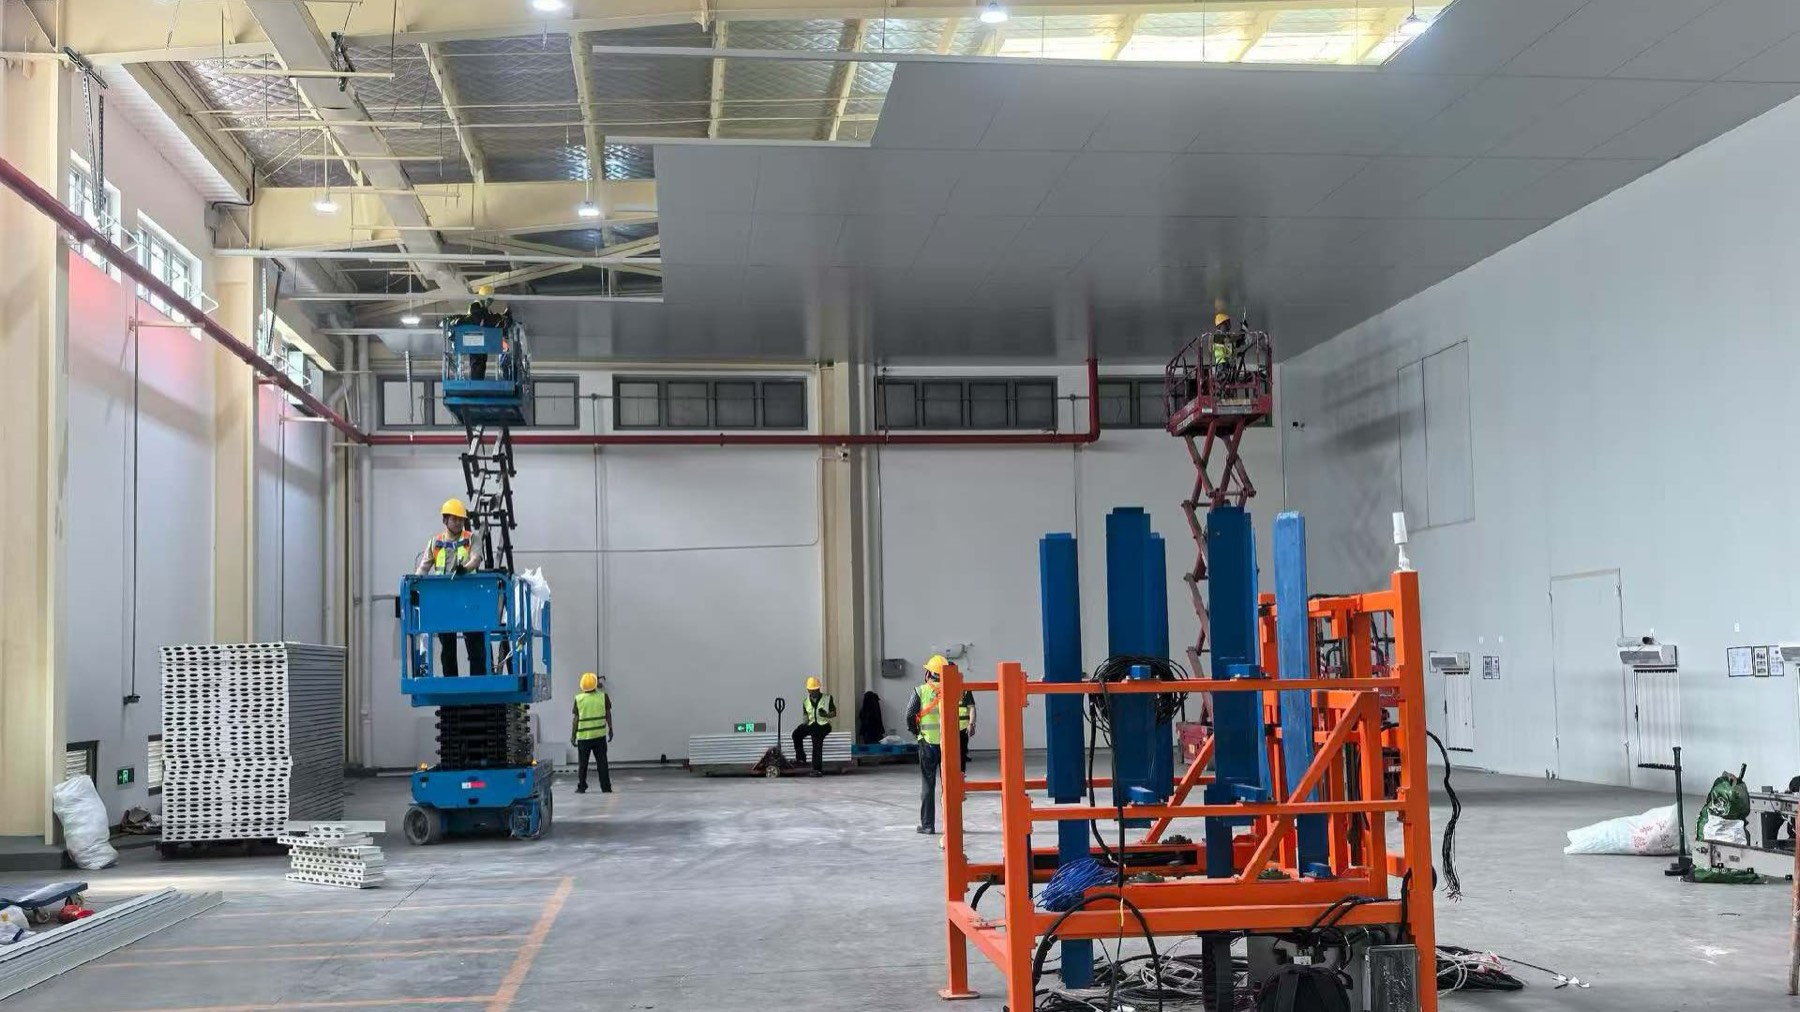
Cleanroom doors go in after the wall panels and corners and before lights, filters and the final seal. Fix the frame plumb and flush with the panel face, seal it to the wall all round, then set the closer, seals and interlock against the room's pressure plan. Check the clear passage, swing and interlock before handover, and put the door records in the handover file.
By ZY Cleanroom · Updated · Sources at the end of the page
Step 1. Confirm the opening before anything is made
Most door problems start with the wrong number on the drawing. For each door mark, keep four dimensions apart, each with units:
- Clear passage: the usable width and height with the door open.
- Construction opening: the hole in the wall that takes the frame.
- External frame size: the overall frame, and which face it is measured on.
- Leaf size: each leaf; on a double door, mark the active and inactive leaf.
Do not work out the construction opening by adding a standard allowance to the clear passage. Frame profiles, seals and thresholds differ by model, so ask the supplier to return a dimensioned opening detail for approval. See the door size guide.
Step 2. Match the frame to the wall
Panel walls. Plan door openings in the panel layout, so panels are cut and framed at the factory, not on site. Our door frames are listed for 50, 75 and 100 mm panel walls, and the leaf is about 50 mm thick, matched to the wall. Send the full wall build-up and panel thickness.
Brick or block walls. Send the measured opening, the wall thickness including finishes, the finished floor level and photographs of the opening. The frame interface has to be reviewed for that wall before the frame is made.
Allow for panel tolerances. EN 14509 allows ±2 mm on the useful width of each sandwich panel. Ten panels each 2 mm over add 20 mm to a wall run, which can push a door opening off its grid line. Decide in advance which joint or closing panel absorbs the error.
Step 3. Install at the right point in the sequence
A common order, also used by China's cleanroom construction code GB 50591-2010 for its decoration works:
- Floor and base track
- Wall panels
- Corners and coving
- Ceiling
- Doors and windows
- Lights, filters and penetrations
- Final seal and leak test
Fitting doors after the ceiling means the head of the frame can be checked against the finished ceiling line. Fitting them before the final seal means the frame-to-wall joint is sealed with the rest of the envelope.
Step 4. Fix the frame plumb and flush
- Set the frame plumb and square.
- Keep the frame flush with the panel face. A frame that stands proud of the wall leaves a ledge that holds dust; EU GMP Annex 1 asks for surfaces with no recesses that are hard to clean (para 4.6).
- Fix the frame with the method on the supplier's frame section. Ask who supplies any reinforcement in the opening.
- Hang the leaf and check the gaps at the head, sides and floor are even.
Step 5. Seal the frame and the leaf
- Seal the frame to the panel or wall all round, on both faces.
- Use a sealant that tolerates the room's cleaning and disinfectant agents. Annex 1 para 4.7 asks for materials that withstand repeated cleaning, disinfectant and sporicidal agents. Ask which sealant is used on each joint.
- Fit the door seals as drawn: perimeter seal, drop seal or threshold.
Closed-door gaps leak air. HTM 03-01 gives about 0.07 m³/s through a single hinged door at 25 Pa with 4 mm at the bottom and 3 mm at the top and sides. If the room needs low leakage, specify a leakage class and test pressure; see cleanroom door selection.
Step 6. Set the hardware against the pressure plan
Rooms are held at different pressures, and that pressure pushes on the leaf. At 25 Pa, a 1.0 × 2.1 m door carries 52.5 N. A hinged door that opens against the pressure needs a closer and handle sized for it.
- Check the swing direction against the pressure plan before the frame is fixed.
- Adjust the closer so the door closes fully against the pressure, and latches.
- For sliding and powered doors, check the track, side space, power supply, controls and maintenance access, and agree the operating sequence.
See cleanroom pressure differentials.
Step 7. Wire and test the interlocks
EU GMP Annex 1 para 4.13 says airlock doors should not open at the same time. Airlocks into Grade A and B need an interlocking system; into Grade C and D, a visual or audible warning as a minimum. A time delay may be set where segregation needs it.
- Test every interlock group: open one door and confirm the other stays locked or warns.
- Test the emergency release, and agree its behaviour on power loss with the owner's fire safety lead.
- Plan the route so the interlock does not become a daily obstacle. HTM 03-01 notes that staff often disable interlocks where a shared room becomes a shortcut (para 8.35).
Step 8. Check and hand over
Before handover, check each door against its schedule entry:
| Check | Pass when |
|---|---|
| Clear passage | Matches the schedule in the agreed open position |
| Frame | Plumb, flush with the wall face, sealed all round |
| Swing and handing | As drawn and suited to the pressure plan |
| Closing | Closes and latches against the room pressure |
| Seals | Fitted and continuous |
| Interlock and warning | Works for every group; emergency release works |
| Vision panel | Flush, sealed, glazing as specified |
| Room pressure | Holds the design value with doors closed |
Put the door drawings as installed, the operating and maintenance instructions and any test reports into the handover file. EU GMP Annex 15 lists these records under installation qualification (IQ). See validation and handover.
Doors on a supply-only order
On supply-only and design-and-supply orders your local crew installs the doors. Ours ship with the door drawings and an installation guide, together with the numbered panels. Our engineer can join a WhatsApp video call to check set-out and the first openings. On-site supervision can be arranged for larger projects. See installation support.
Questions
Common questions
When are cleanroom doors installed?
After the wall panels, corners and ceiling, and before lights, filters and the final seal. GB 50591-2010 lists door and window work after the ceiling and wall corners, followed by sealing gaps.
Can a cleanroom door go into a brick or block wall?
Yes, if the frame interface is reviewed for that wall. Send the measured opening, the wall thickness including finishes, the floor level and photographs.
How do I work out the construction opening for a cleanroom door?
Get it from the supplier's frame drawing for the offered model. Do not add a standard allowance to the clear passage, because frames, seals and thresholds differ.
Which way should a cleanroom door open?
As the pressure plan and layout design state. Pressure pushes on the leaf, so a door that opens against it needs a closer sized for the load. Check the swing direction before the frame is fixed.
Do cleanroom doors need interlocks?
For airlocks into Grade A and B areas, EU GMP Annex 1 asks for an interlocking system. For Grade C and D, a visual or audible warning is the minimum.
Related guides
- Cleanroom doors: hinged, sliding and hermetic selection
- How to Choose a Cleanroom Panel Manufacturer in China
- Cleanroom panel installation: sequence, tolerances, sealing and faults
- Modular operating theatres: scope, air and pressure standards
- Turnkey cleanroom contractor
- Room list builder
Sources
- EudraLex Volume 4, Annex 1: Manufacture of Sterile Medicinal Products (European Commission, 25 August 2022)
- EudraLex Volume 4, Annex 15: Qualification and Validation (European Commission, 30 March 2015)
- NHS England, Health Technical Memorandum 03-01, Specialised ventilation for healthcare premises, Part A
- GB 50591-2010, Code for Construction and Acceptance of Cleanroom (catalogue page)
- AENOR, specification for metal-faced sandwich panels with insulating core, UNE-EN 14509 (May 2020)
Project enquiry
Send what you have
A room list, a floor plan or only the floor area is enough to start. After you submit, send drawings by email or WhatsApp.
We reply by email within one working day. We can sign an NDA before you send drawings.
WhatsApp +44 7962 561184 is our UK number for export enquiries. The factory is in Tianjin, China.
Email: [email protected]
WhatsApp: +44 7962 561184